Making Kombucha at Buckle My Shoe!
Our tamariki at Buckle My Shoe have a real interest in making kombucha bread with the kombucha that one of our wonderful Kaiako makes at home. To extend on this interest, we asked our little ones if they would like to help make their own kombucha that they could drink or use to make kombucha bread with!
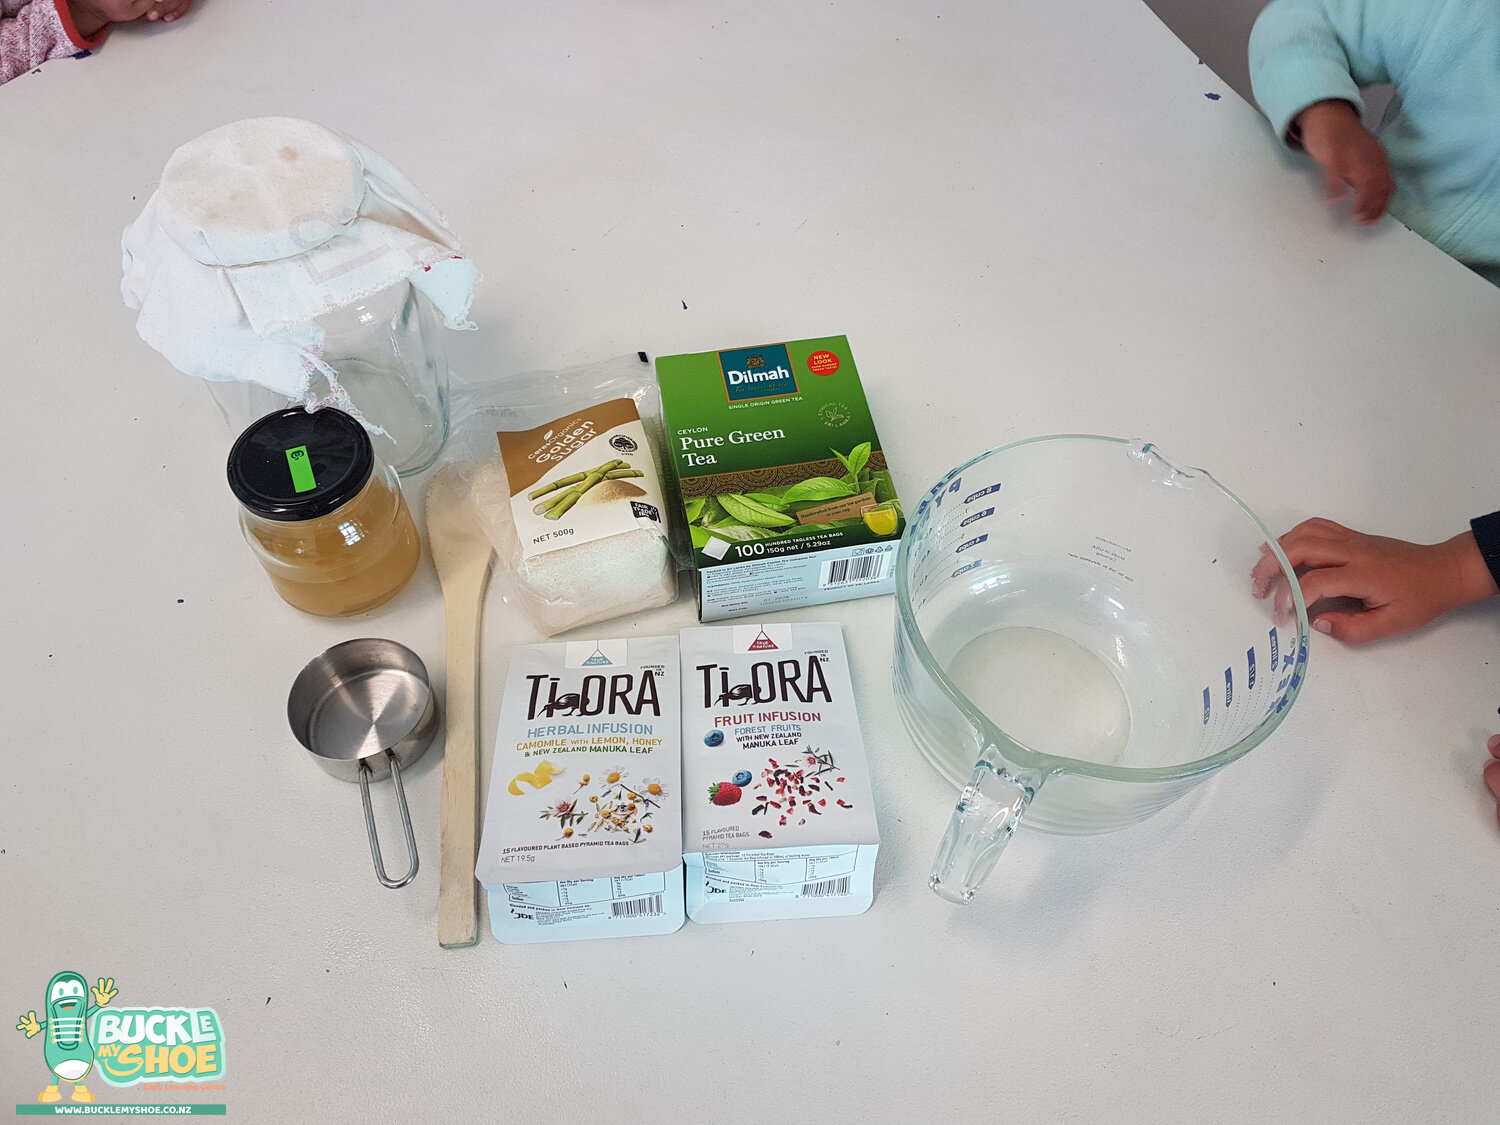
Our little ones were very interested in making kombucha from scratch and so we began making a list of everything we needed. After gathering the ingredients and resources we would need onto the table, we had a korero (talk) about what they were for. 😊
With a team of eager helpers, it was time to get started by measuring out a 1/2 cup of sugar.
Once the sugar was in, we needed to add 2 litres of boiling water. We spoke about the different lines on the side of the measuring jug and discussed that 2000ml was equal to 2 litres. This was a great opportunity to learn about the relevance of maths in real life situations i.e. reading measurements and establishing quantities. 👏
The boiling water needed to be added by our Kaiako for safety reasons but as she did this, we asked ourselves, “What happened to the sugar? Where did it go?” We concluded that the sugar had mixed in with the water, causing it to dissolve or disappear. This was a great concept to explore with our little ones as there are many things that dissolve when baking or cooking with different ingredients.
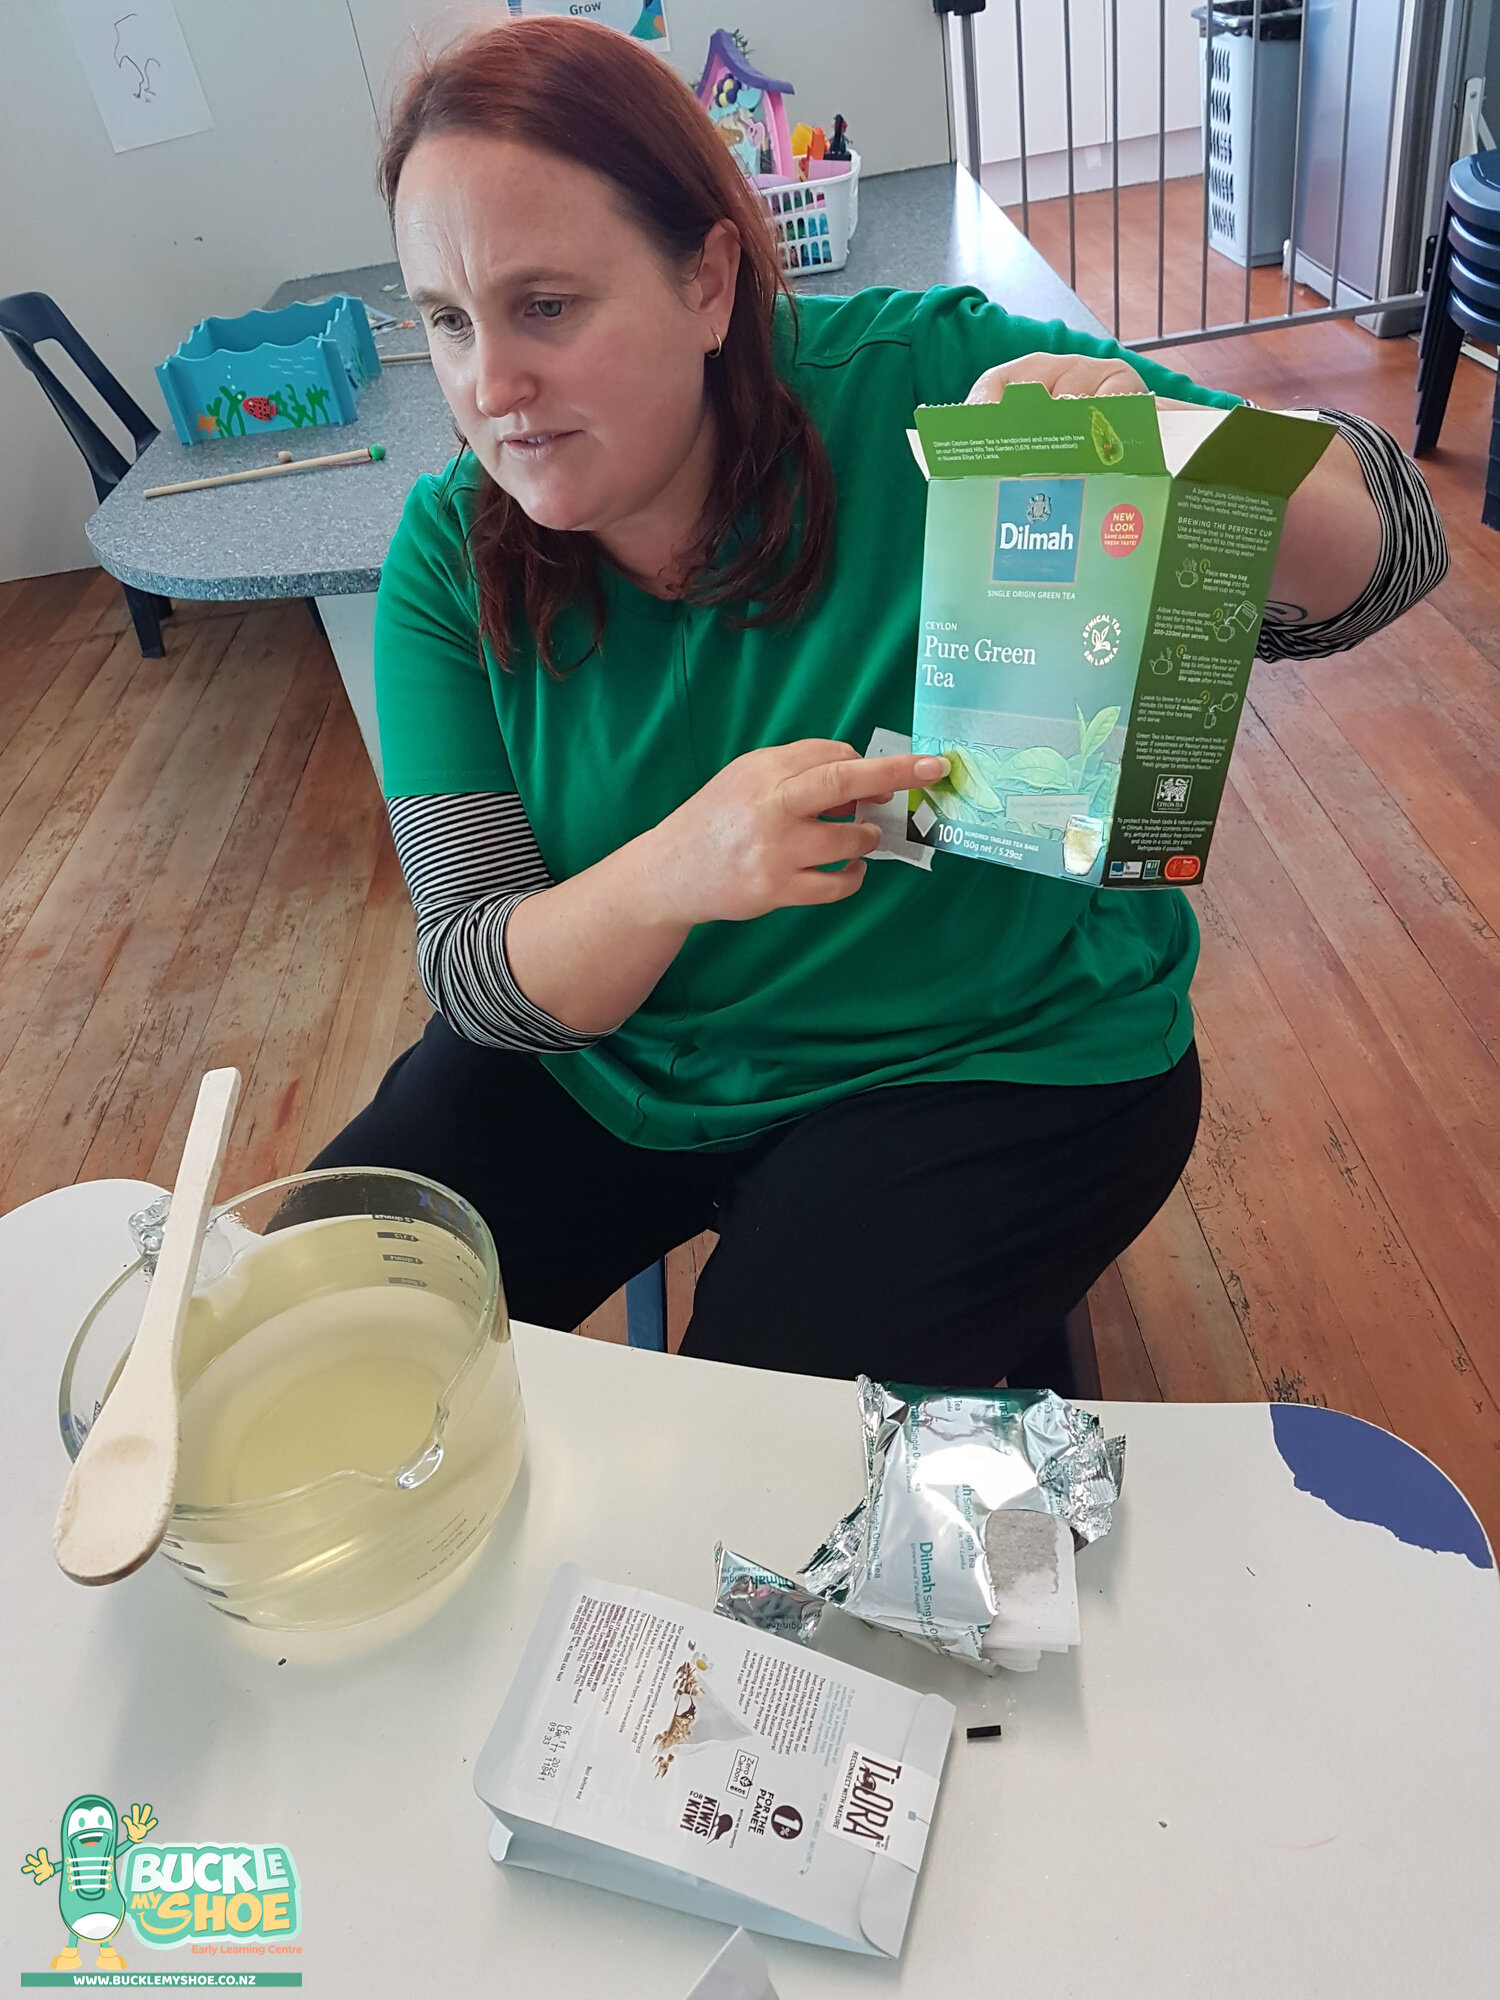
Next, we looked at different types of tea we had on the table. On one of the boxes there was a picture of leaves on the front. This provoked a discussion about fresh tea leaves and what happens to them in the process of turning them into dried tea leaves for our teabags. ☕
Now that the water was in, it was time to put in two green teabags and two of the lemon, honey and camomile teabags. We looked at the different shaped teabags they were in, the green teabags were square, and the camomile were triangular shaped.
Not only did we observe differences by looking at the different flavoured teabags, we also used our sense of smell to smell the teabags and find out the difference between the green tea and the lemon, honey and camomile teabags.
As the kombucha-making process continued, we could not help but wonder if the teabags were going to float or sink. After some experimentation, we questioned why the green teabags sank and the lemon, honey, and camomile ones float? We looked at the different ingredients in them and discovered that the green teabags had tea leaves which are heavier when wet. Inside the lemon, honey and camomile teabags were flowers, which were a bit like straw when dried so they floated on the top and needed to be pushed into the water using a wooden spoon.
Once the sugar and teabags had time to soak and then cool, it was time to take the teabags out, pour the liquid into a 2-litre jar and add the scoobie (which ferments the tea); producing kombucha! 🙌
It was time to cover the kombucha jar with a breathable cloth and a rubber band & leave it to ferment for a week. Watch this space to see how our kombucha turns out!! 💖


